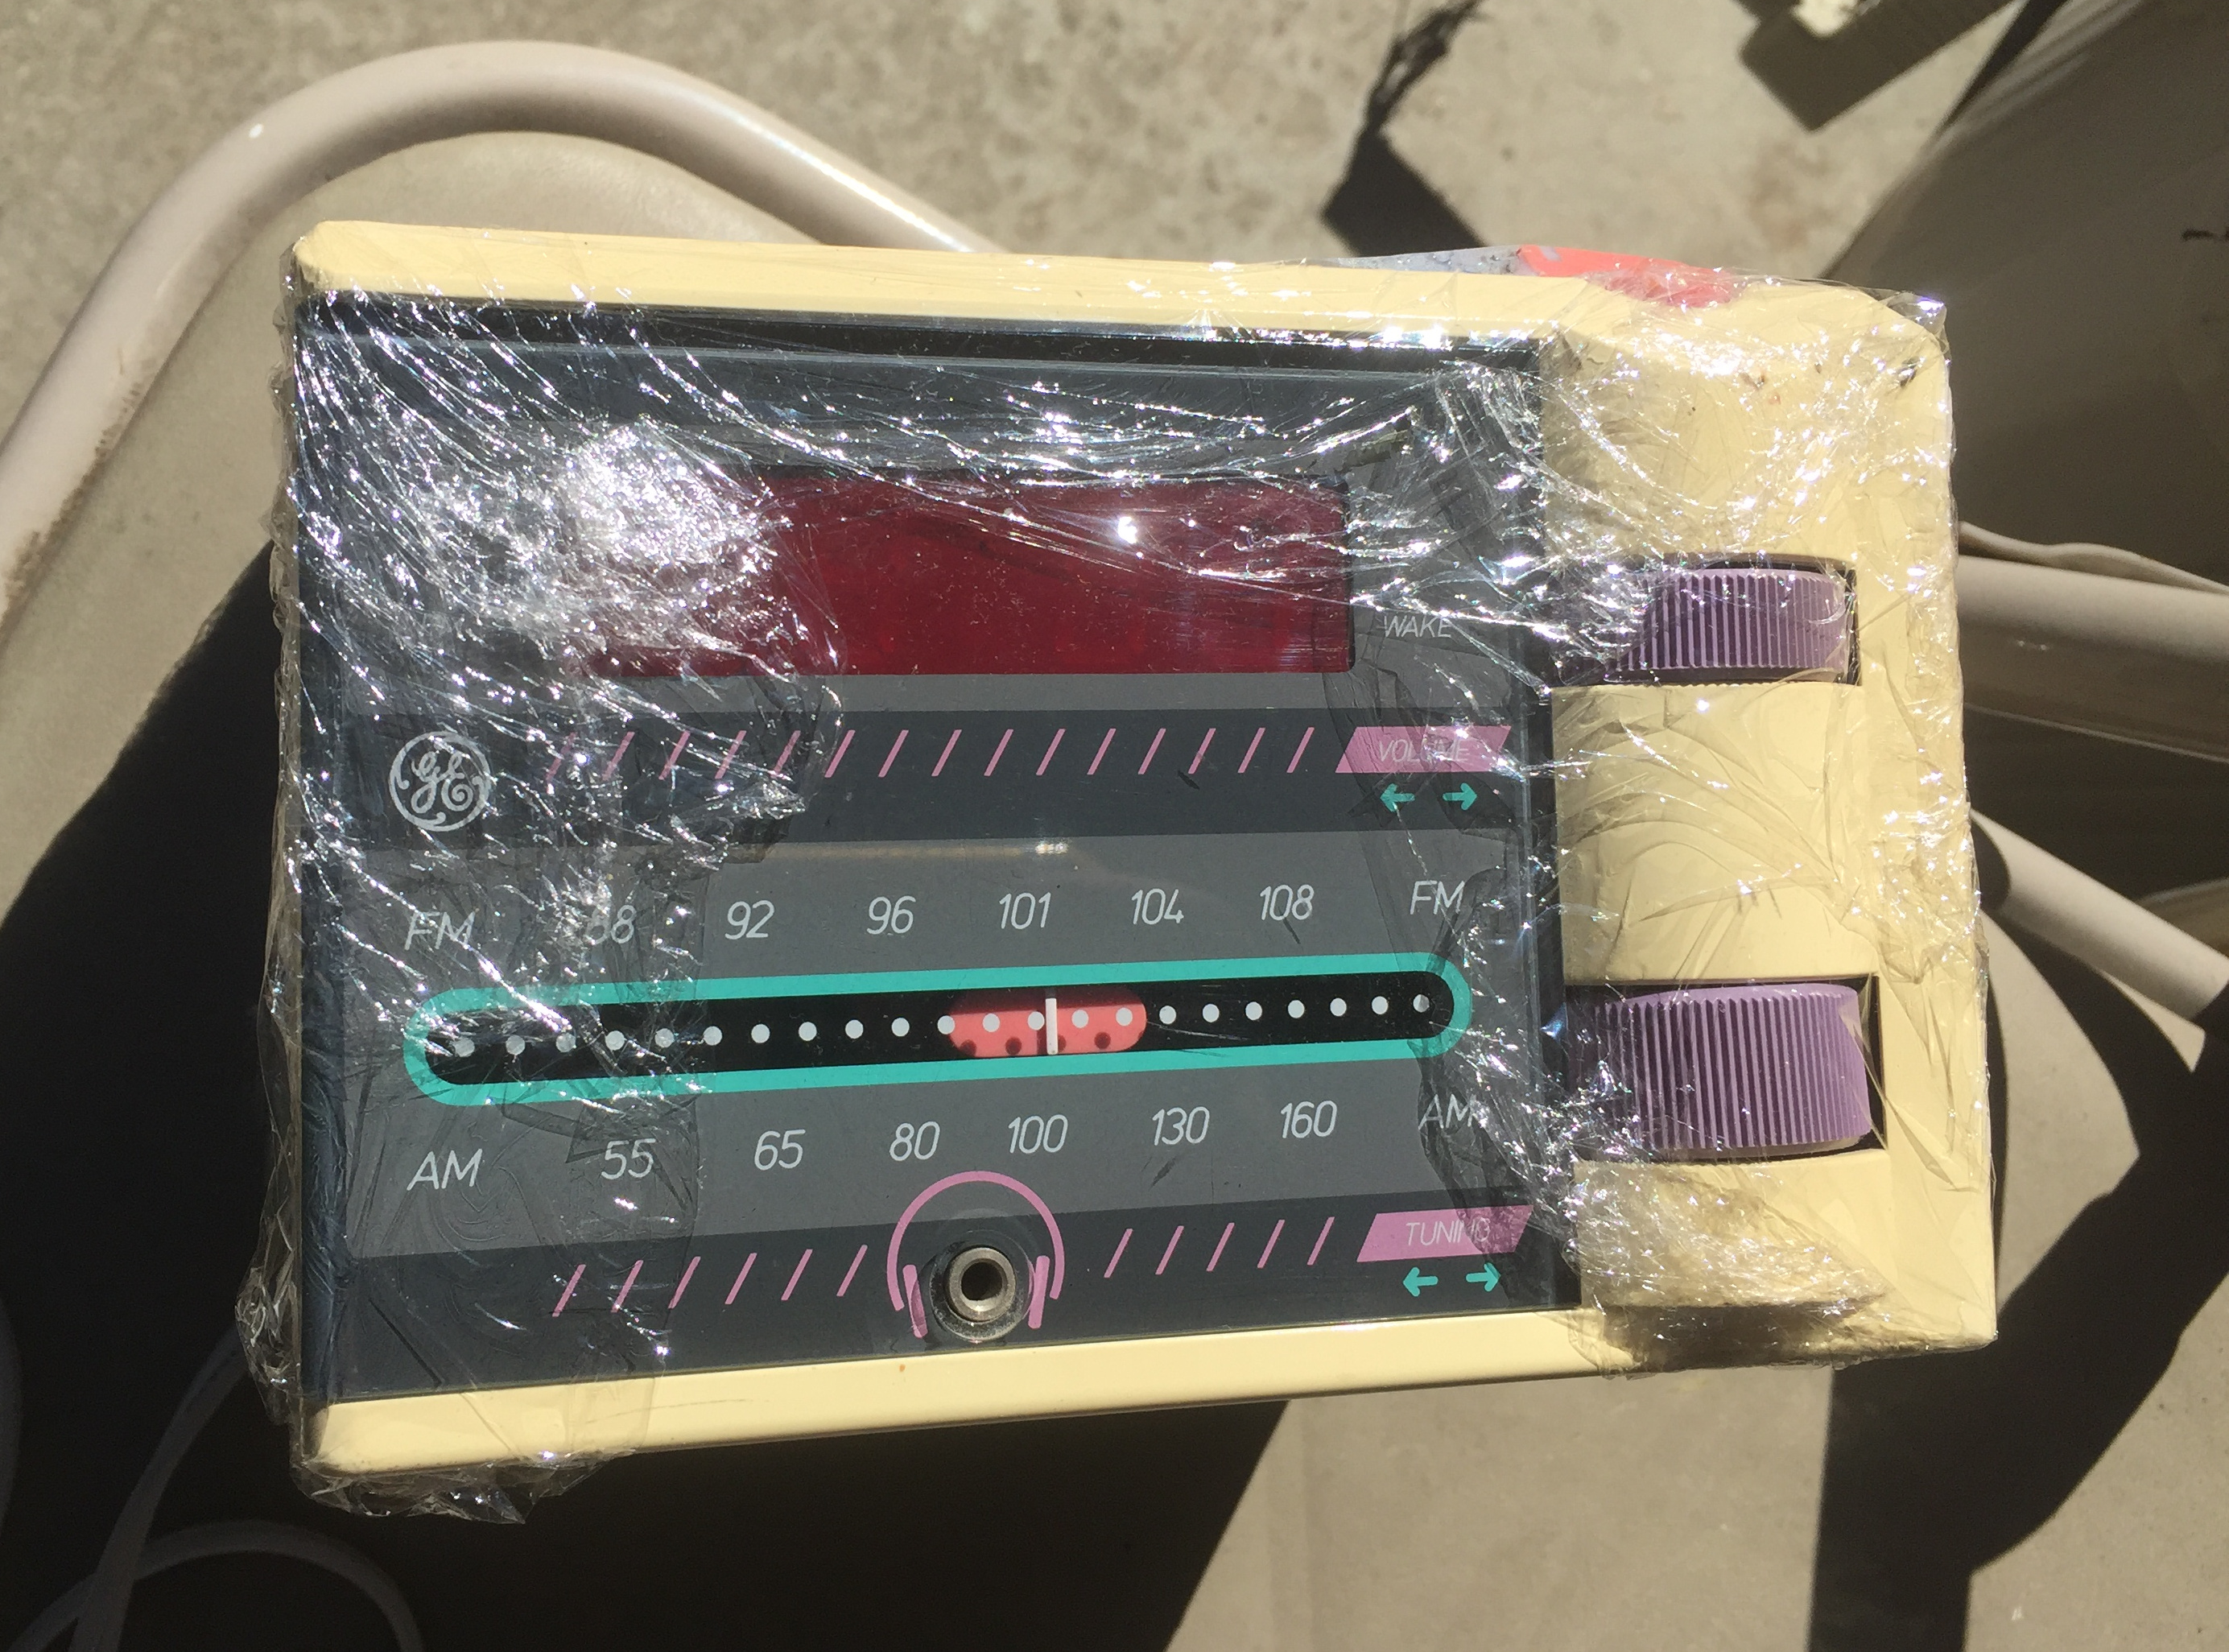
Once this is partially restored, it’ll sell for $13 plus shipping. I don’t think I can fully restore it without risking some damage to the paint. If you’d like to get it directly, for le$$, contact me via the contact page.
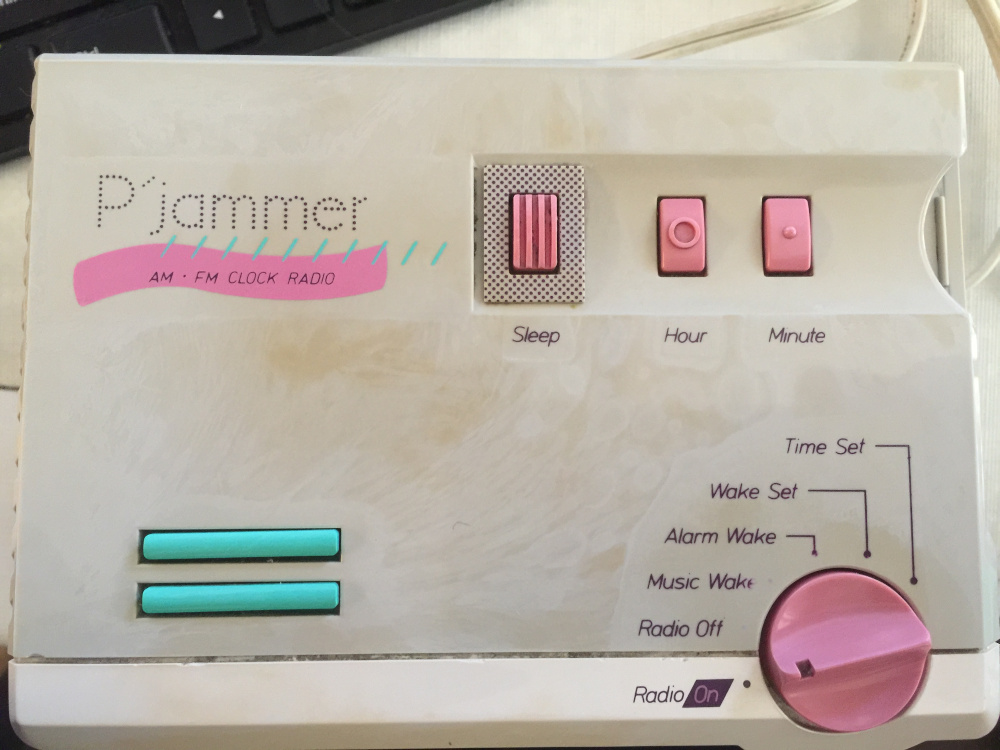
Note: the sleep button doesn’t seem to work 🙁
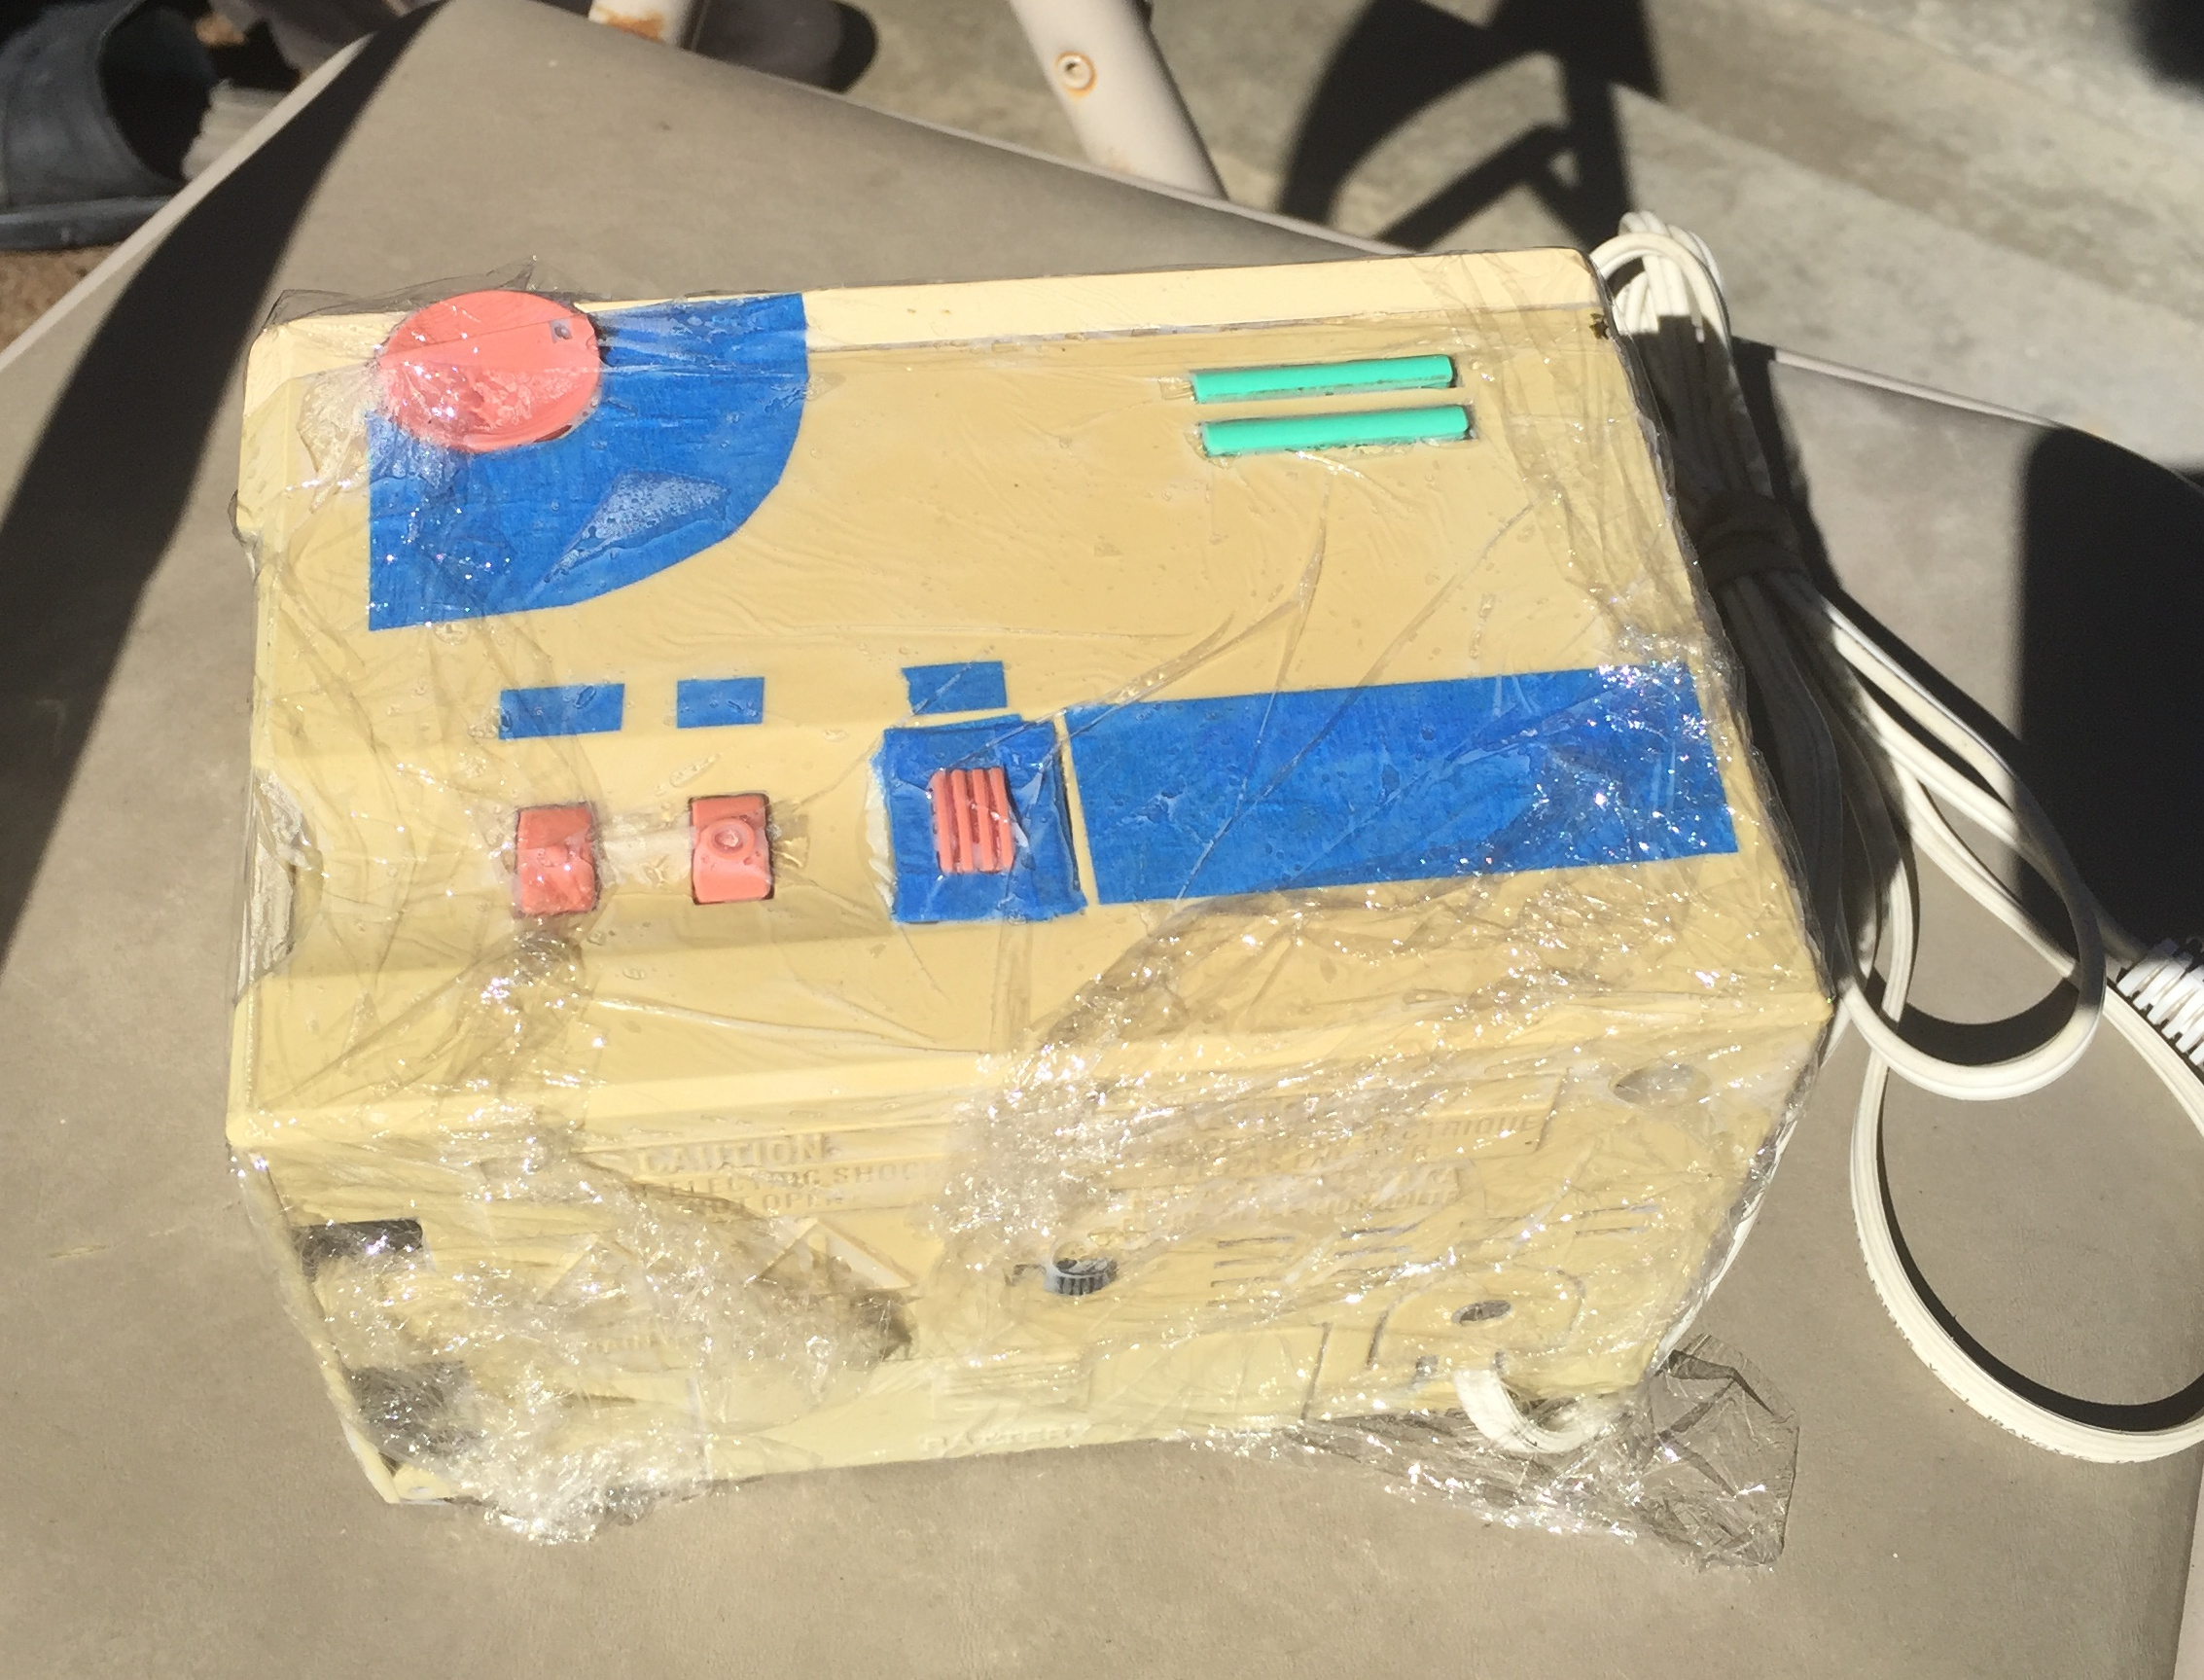
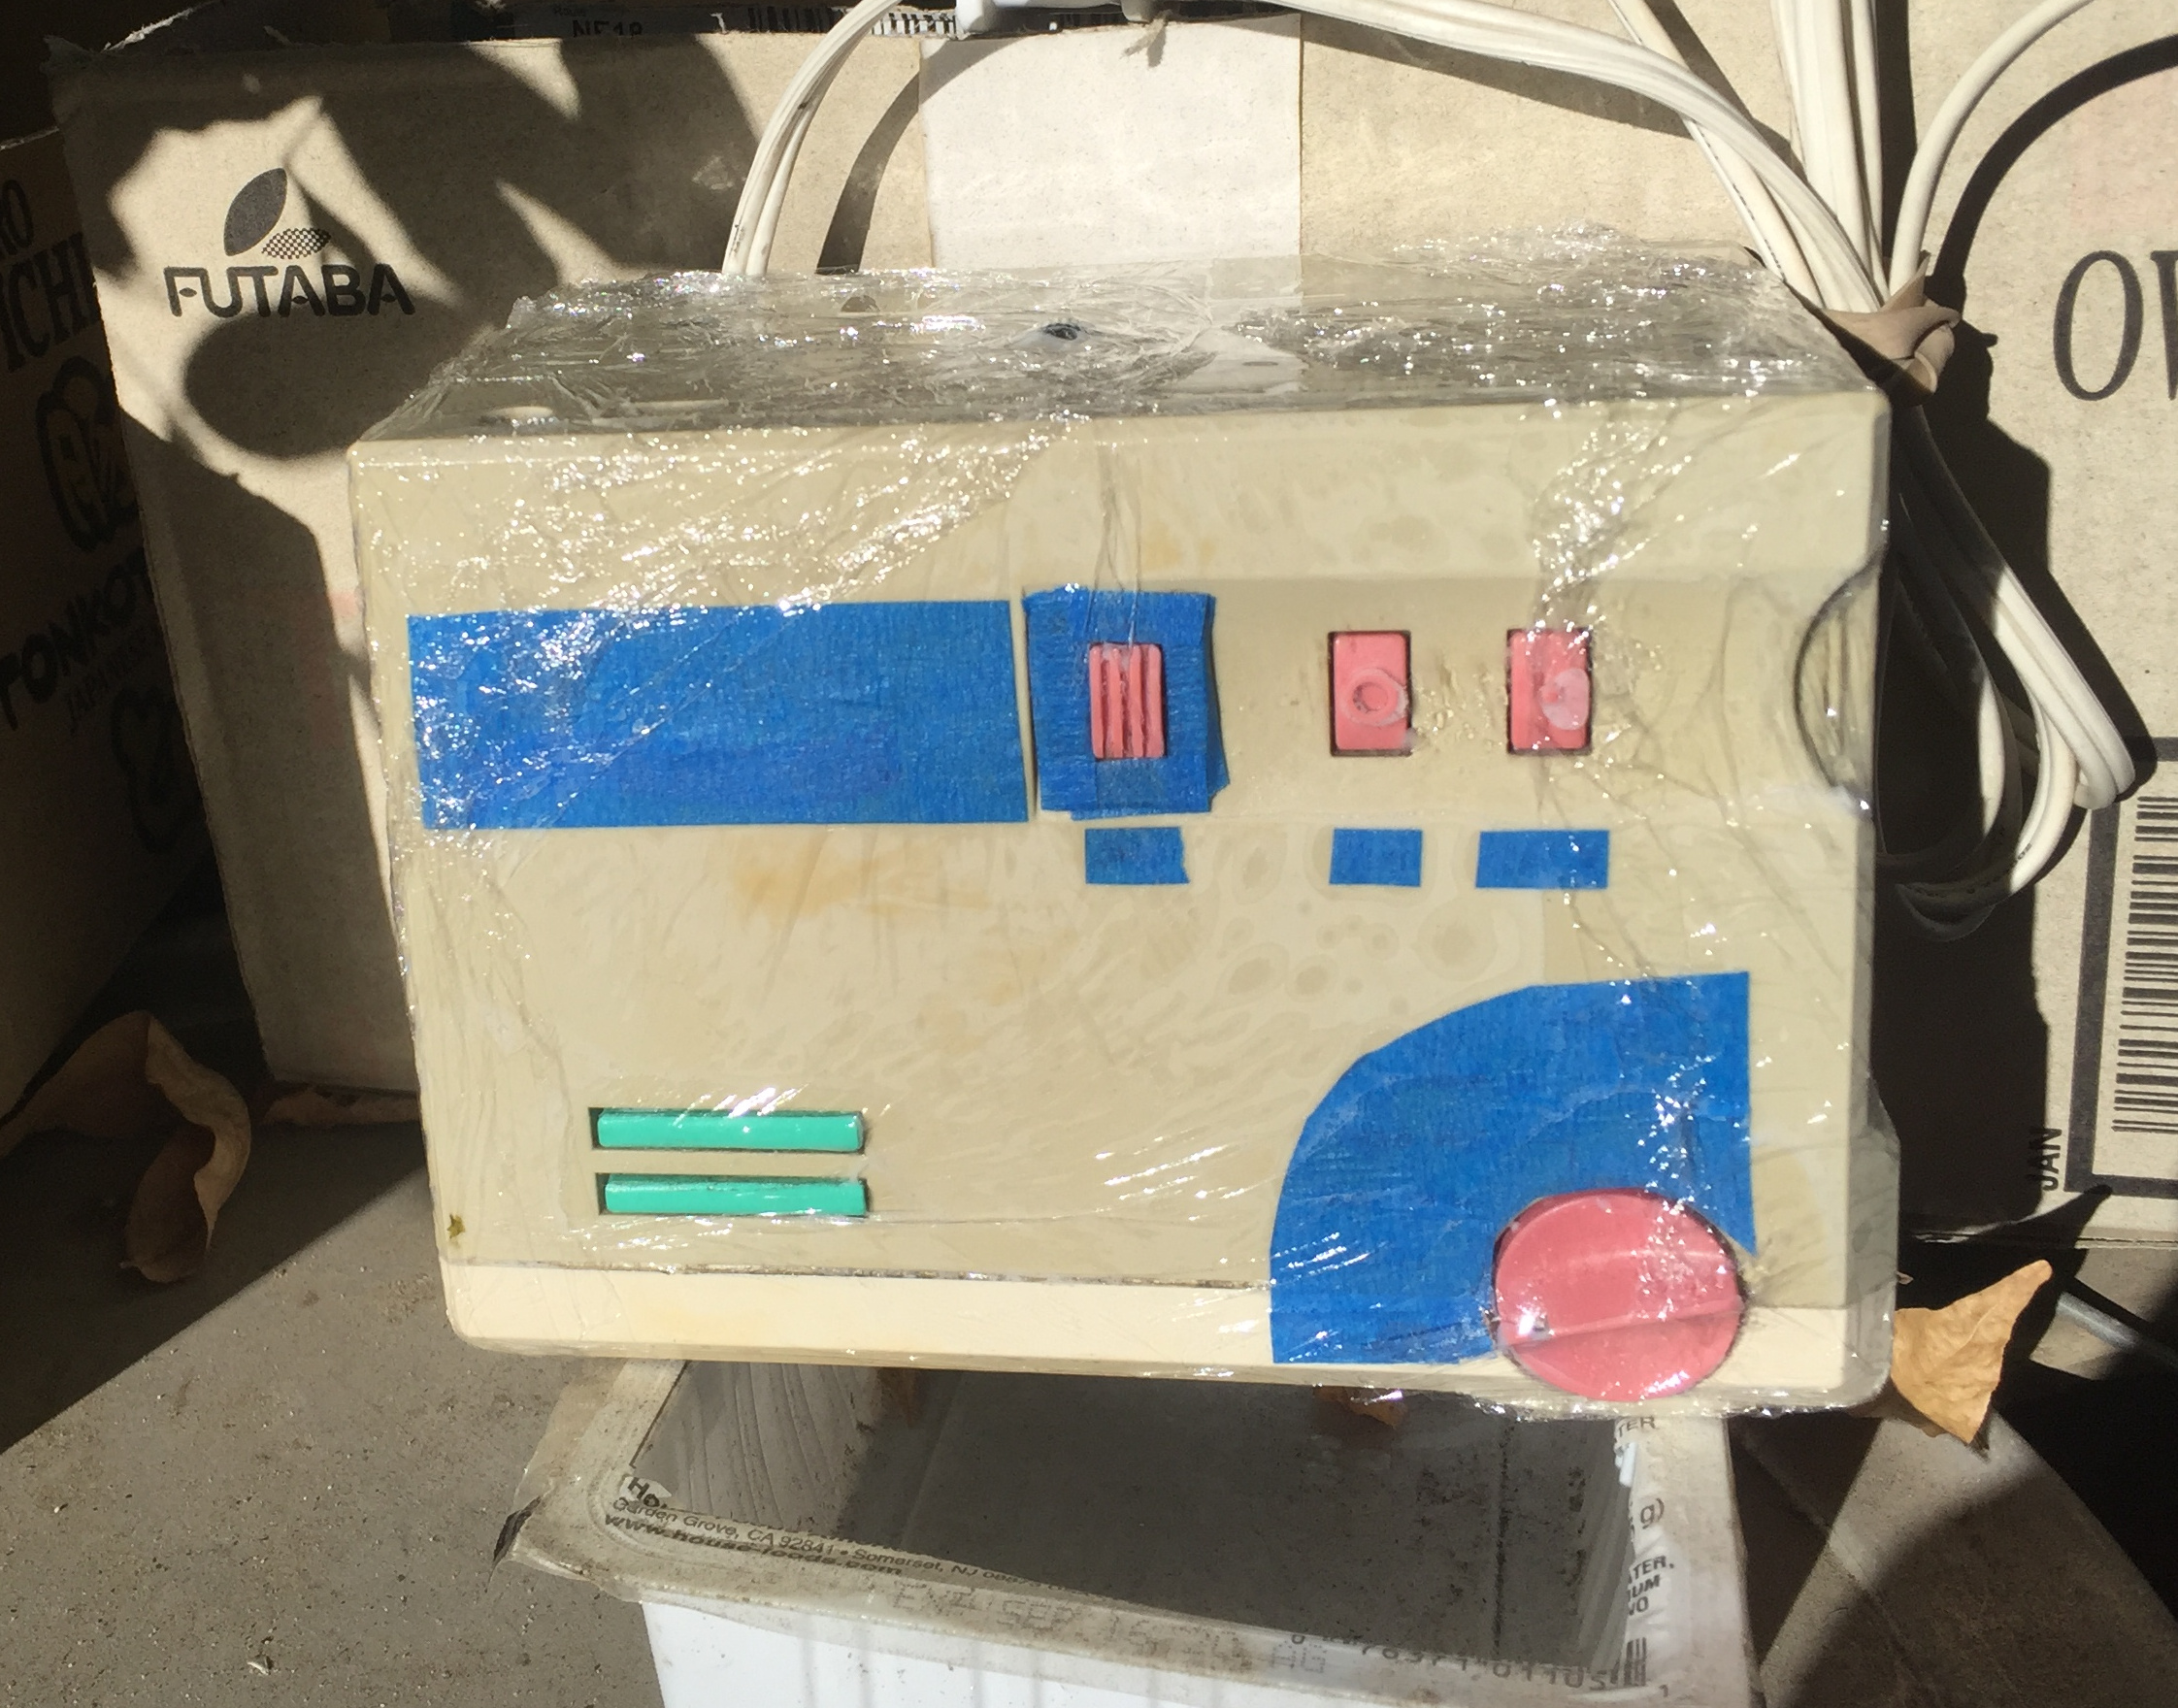
There’s no “before” photo, but this is close to the condition I bought it. It was this yellow/tan color, but the original color is a warm gray. To remove the yellowing, use 40vol hydrogen peroxide activator on it, and cover it in plastic. You have to push the cream around through the plastic, so you don’t end up with bubbles that cause splotches.
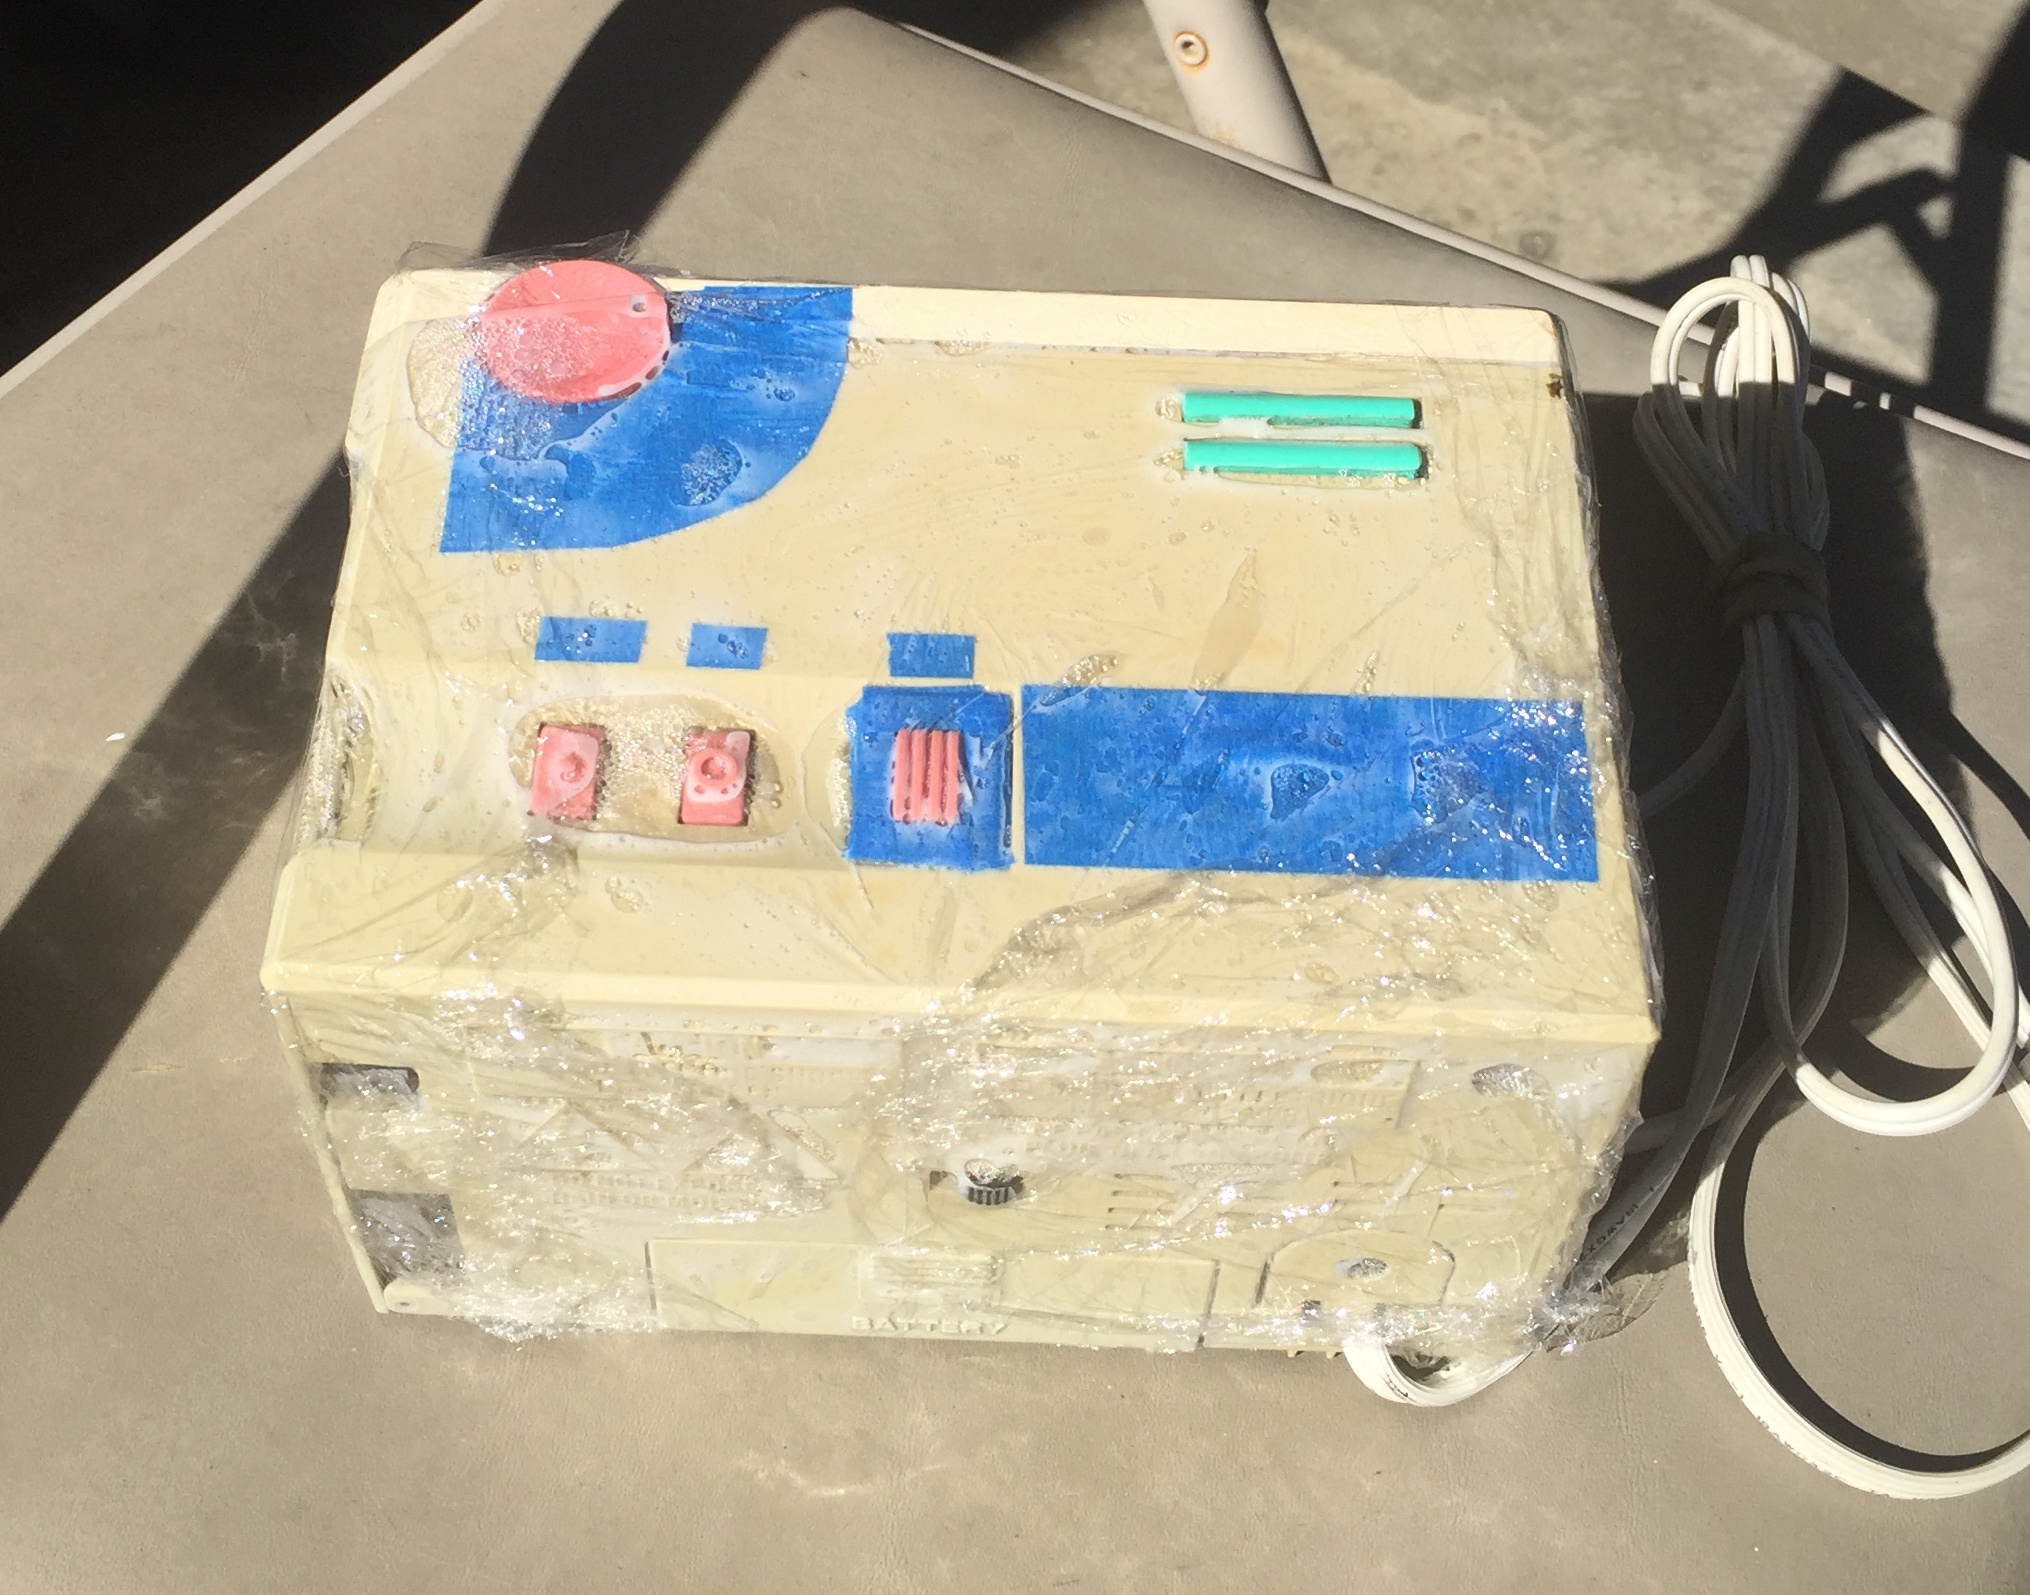
I am worried the peroxide will discolor painted parts, so I covered the painted areas with blue tape.

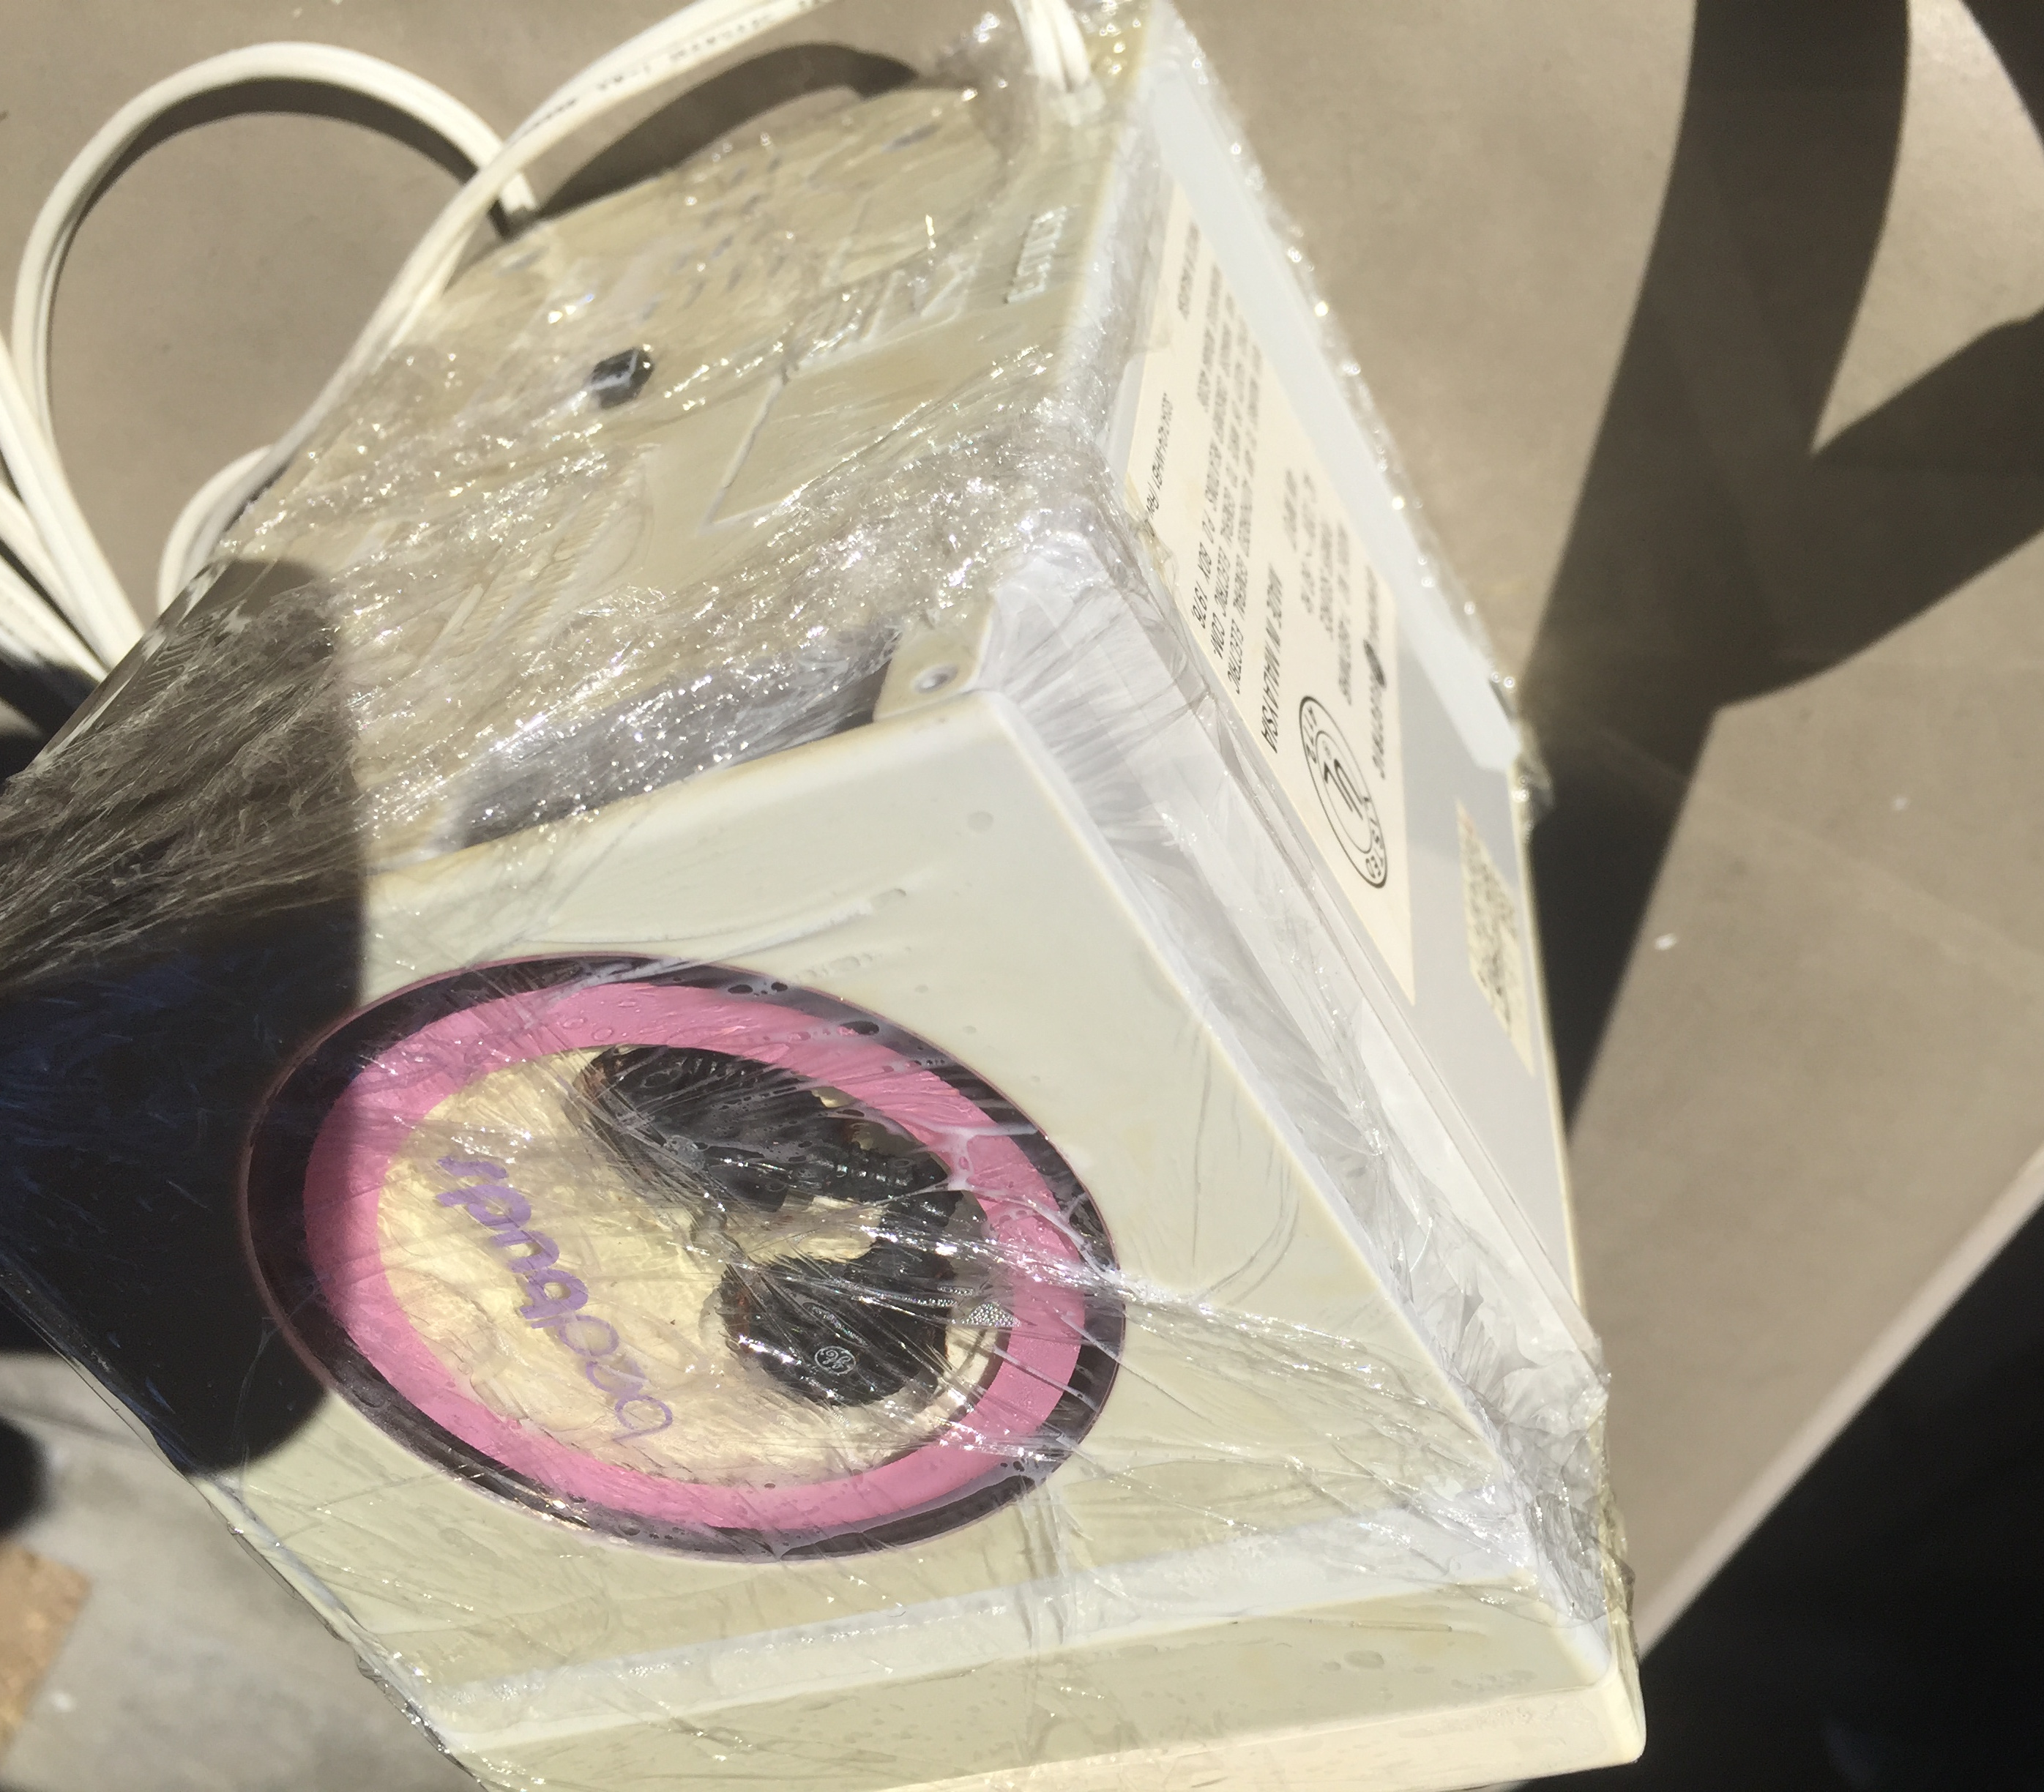
After a an hour in the sun, you can see the cream is working. The side panel is almost completely gray, matching the color of the bottom of the clock, which isn’t yellowed at all. It’s a little splotchy.
The buttons are getting back to their bright colors.
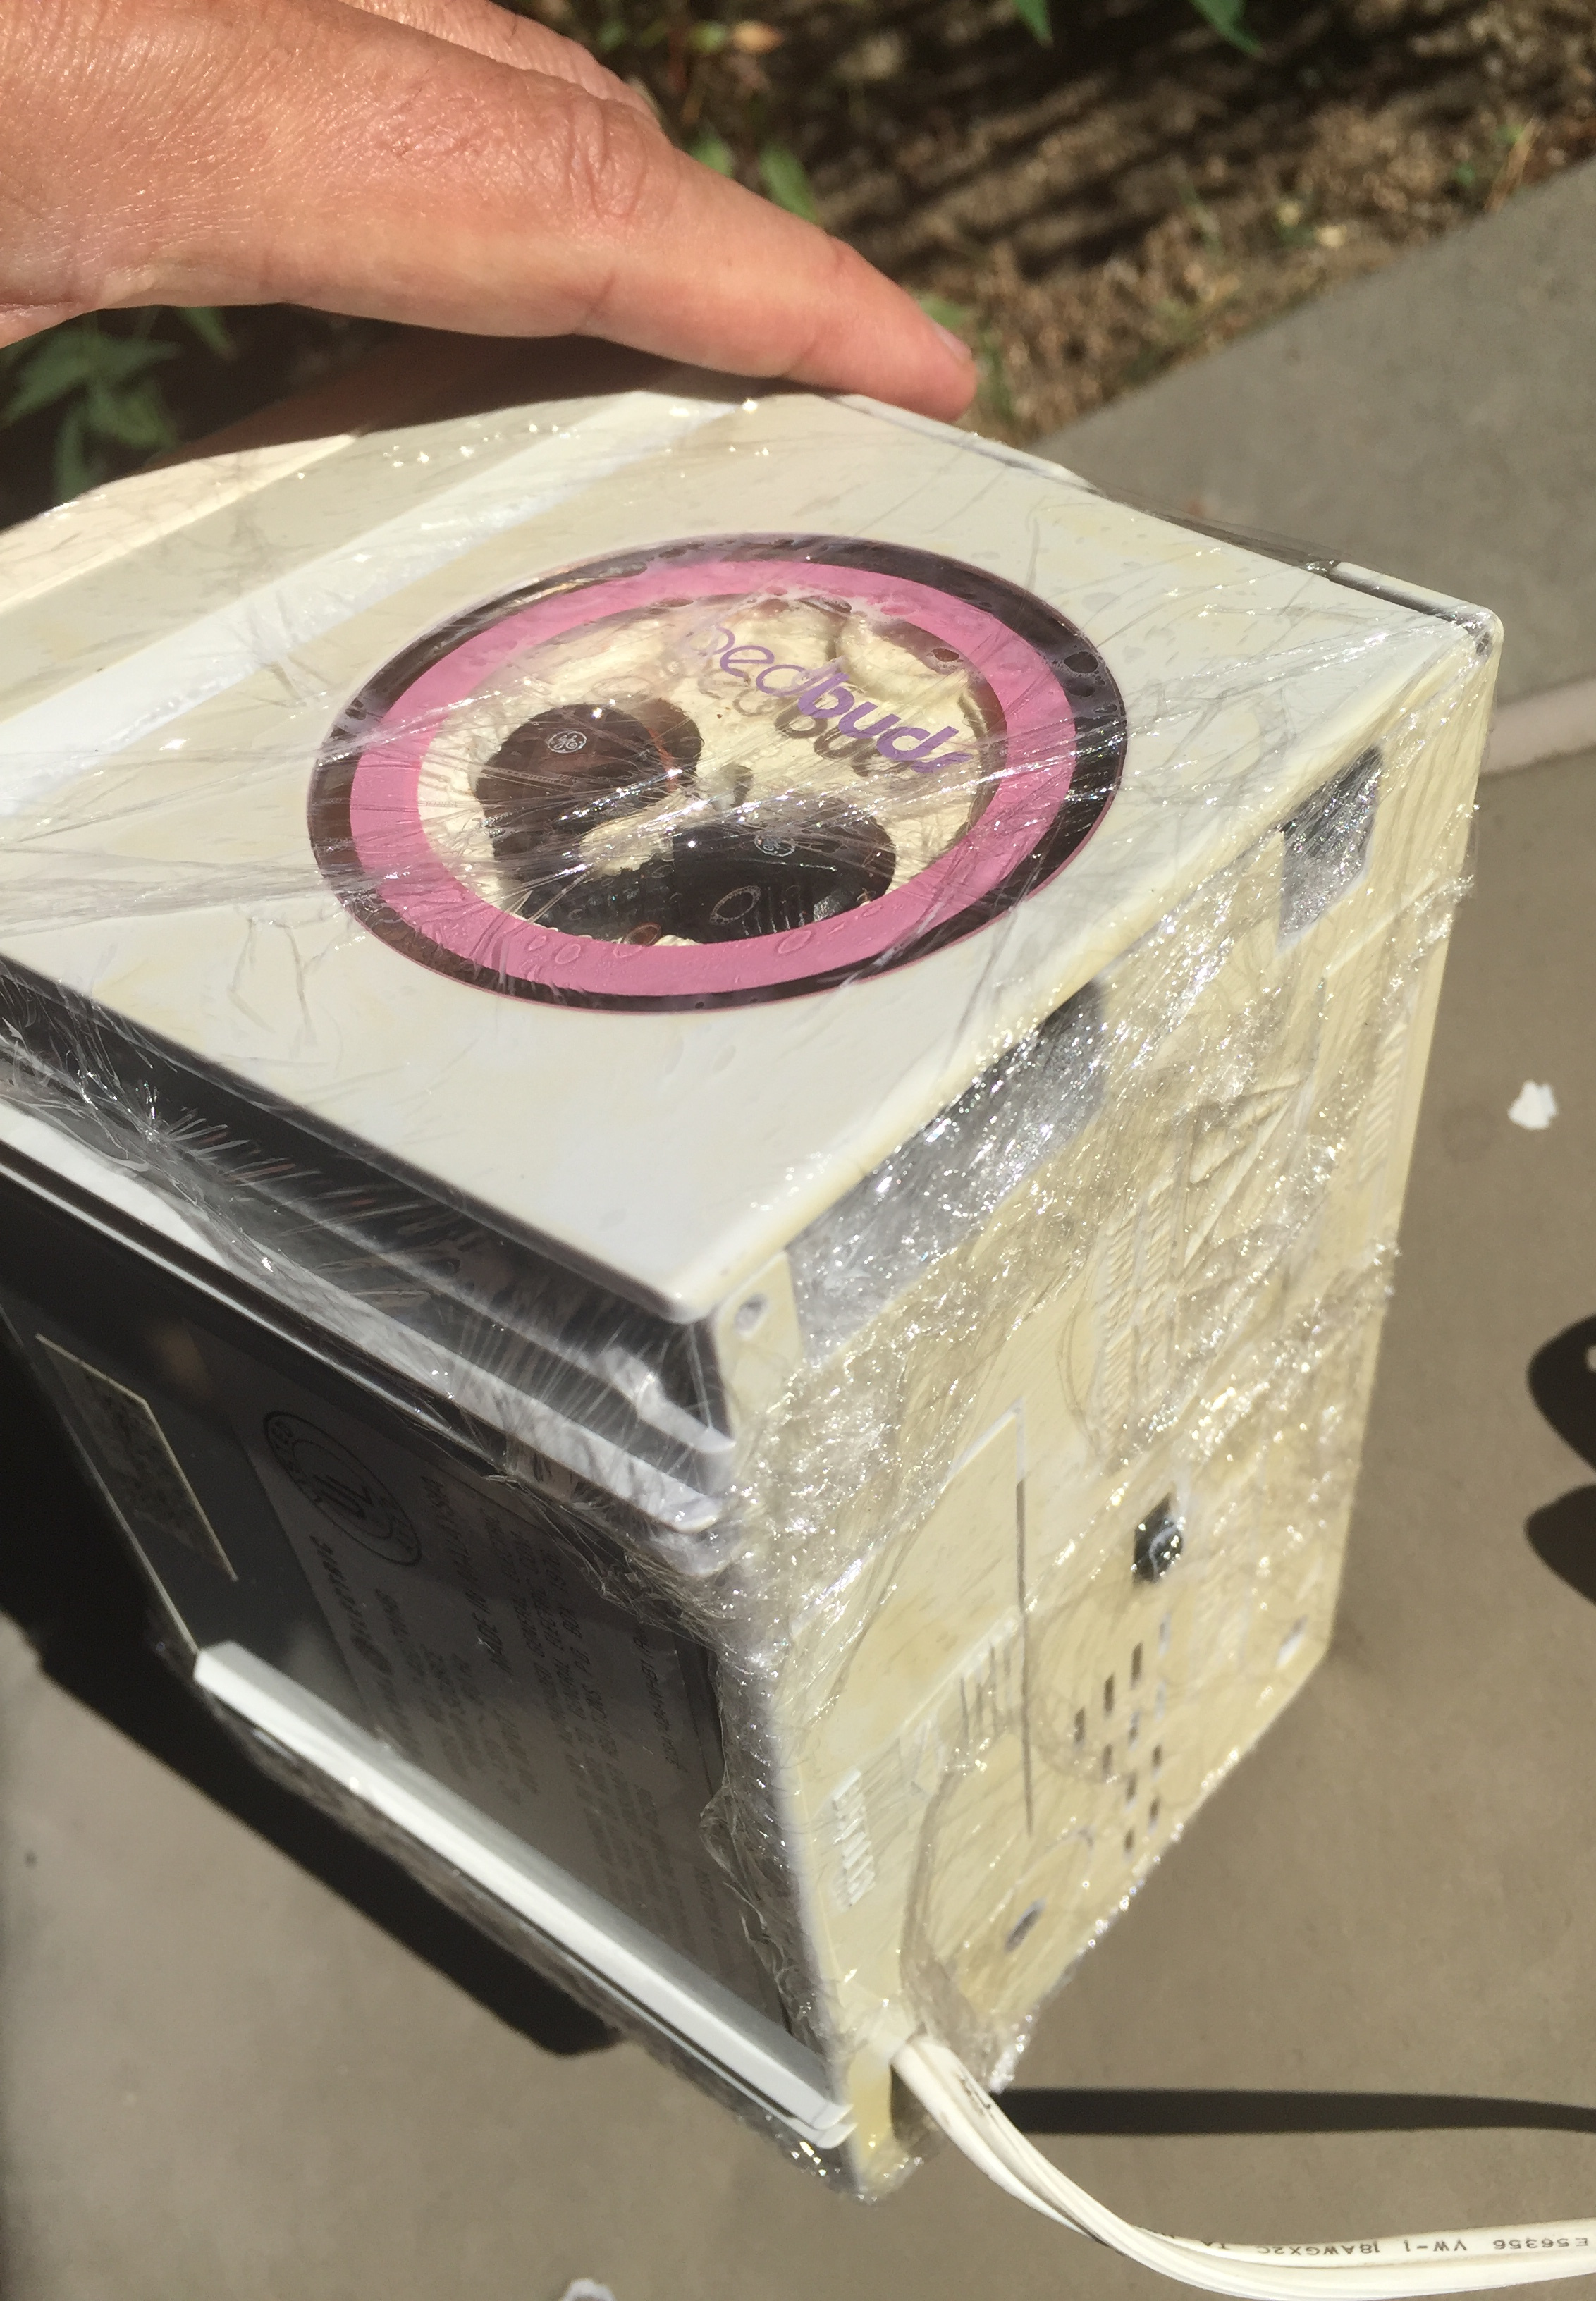
This is after a couple hours. The pinks are really coming back, and the aqua buttons are basically finished. The top surface isn’t done, and you can see splotches of yellow. The color, overall, is still yellowed, but a lot less than before.
This top area will need another treatment. I’ll keep pushing the peroxide around to cycle it.
I did a sample spot the previous night, and put it under a lightbulb. It faded a little bit, but nowhere near as much as what’s happening in direct sunlight. The sunlight makes a huge difference.
Let’s look at the first day’s results. This is around 3 hours of exposure.
All the surfaces are splotchy. The front of the clock is still yellow, but I didn’t put any chemicals on there.
Some of the areas under the blue tape whitened up! Maybe the hydrogen gets into the glue, and then down into the plastic.
I went ahead and did a quick second coat and exposure to sun for a little while, and it seemed to smooth out the streaks, so I have high hopes for the next treatment.
I’ll have to repeat the process, and be more careful. I suspect it’ll work out fine.
Second Day: Improvements
I put on a thick coat, and let it sit in the sun a few hours, turning it three times. The result was a marked improvement, where most of the dark areas faded, but it’s not quite done yet.
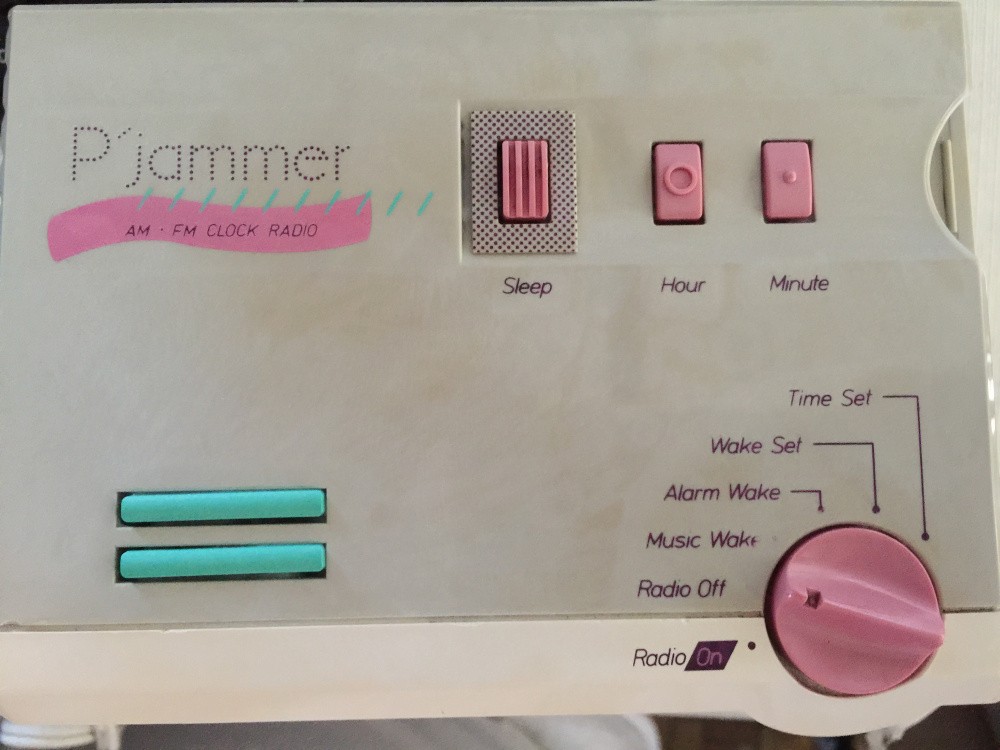
Indoors, from a distance, you really can’t tell this used to look yellow:
Third Day: Finished, Going Too Far
I decided to tape up the holes and gaps, to prevent the cream flowing into the clock. Previously, I used the goop sparingly, but this time, I laid it on nice and thick.
The clock was put into a ziploc bag in the sun, and left to “cook” for a few hours. The end result:

The surface still shows some uneven coloration, and the dreaded “chalky” appearance, but, on the whole, it looks acceptable.
I’d say a good 75% out of 100%. Unless you’re really looking for these imperfections, you aren’t going to notice them. I feel like it’s better to go too far toward “white” or “gray” than to retain too much of the yellow/brown tint.
Fixing the Buttons, but Breaking the Case
The buttons were flaking out on me when I tried to set the time, so I squirted some DeoxyIT oil, a product from Caig, that helps to clean contacts.
The buttons stopped working entirely. I figured there’s some dirt on the contacts, so, I opened the case.
That was a big mistake. The case is held on with four screws, and three came out easily. One, however, was screwed into a tall post, and the post broke. The only way to fix this is with some superglue, or epoxy glue. I’m going to need to disclose this fact, and reduce the price on this unit to around $15.
The buttons on this clock are similar to the ones you find on remote controls. They’re electrical traces on a circuit board, that get shorted out when a rubber pad painted with conductive ink presses up against them.
The fix was to wipe them clean. Afterward, they worked fine.
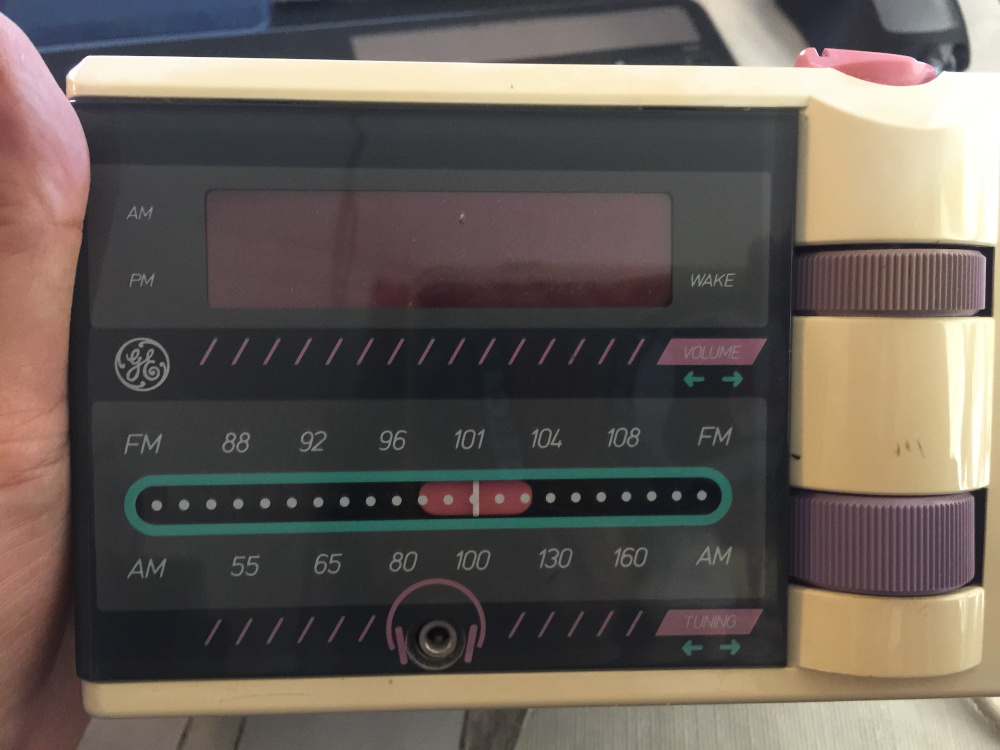
I may end up keeping this. The radio on it is better than the one on my Sony Dreamstation.
Mistakes
It turns out I made a few mistakes. One was using a “cream” peroxide developer. I was supposed to use “clear”. Still, it seems to have worked for the most part.
The first day, I let it dry off too much, and the dry areas didn’t get anymore hydrogen.
The taped off areas seemed to get more hydrogen. That was a surprise. That’s something to experiment with!
I should have used a looser zipper bag. Putting the sheet of plastic right on the device left some areas with too little hydrogen peroxide.
I should have reapplied more hydrogen peroxide.
I should have covered the crevices with tape. The developer goes into those spaces, and is hard to remove. At the same time, it seems like blue tape helps with the process, when it covers only small areas.
References
https://www.howtogeek.com/196687/ASK-HTG-WHY-DO-OLD-COMPUTERS-AND-GAME-CONSOLES-TURN-YELLOW/
http://www.retrofixes.com/2013/10/how-to-clean-whiten-yellowed-plastics.html